Labels

Showing posts with label Make at Home and Save. Show all posts

Thursday, January 26, 2012

Home Made Coffee Creamer

Yumm...
First thing in the morning,
sometimes in the afternoon
and often times in the evening....
 I want my COFFEE!!

And Nothing makes it better than Home Made Coffee Creamer!
This is sooo simple to make!
You will need:
*1- 14oz can of Sweetened Condensed Milk
*14 oz of Milk (Any Kind You Prefer- I Used Almond Milk)
*You will also need a jar or container w/ a lid.
*Flavor (Optional)
Put your Sweetened Condensed Milk in your jar.
Then your milk! :)

Now, if you want a flavor you can add a tablespoon or two, Or more. :) 
I Love Vanilla Coffee Creamer so I used Vanilla
You don't have to use flavor if you don't want to.
The mixture without any kind of flavor is great. Gives it some Sweetness but keeps the Coffee Taste!
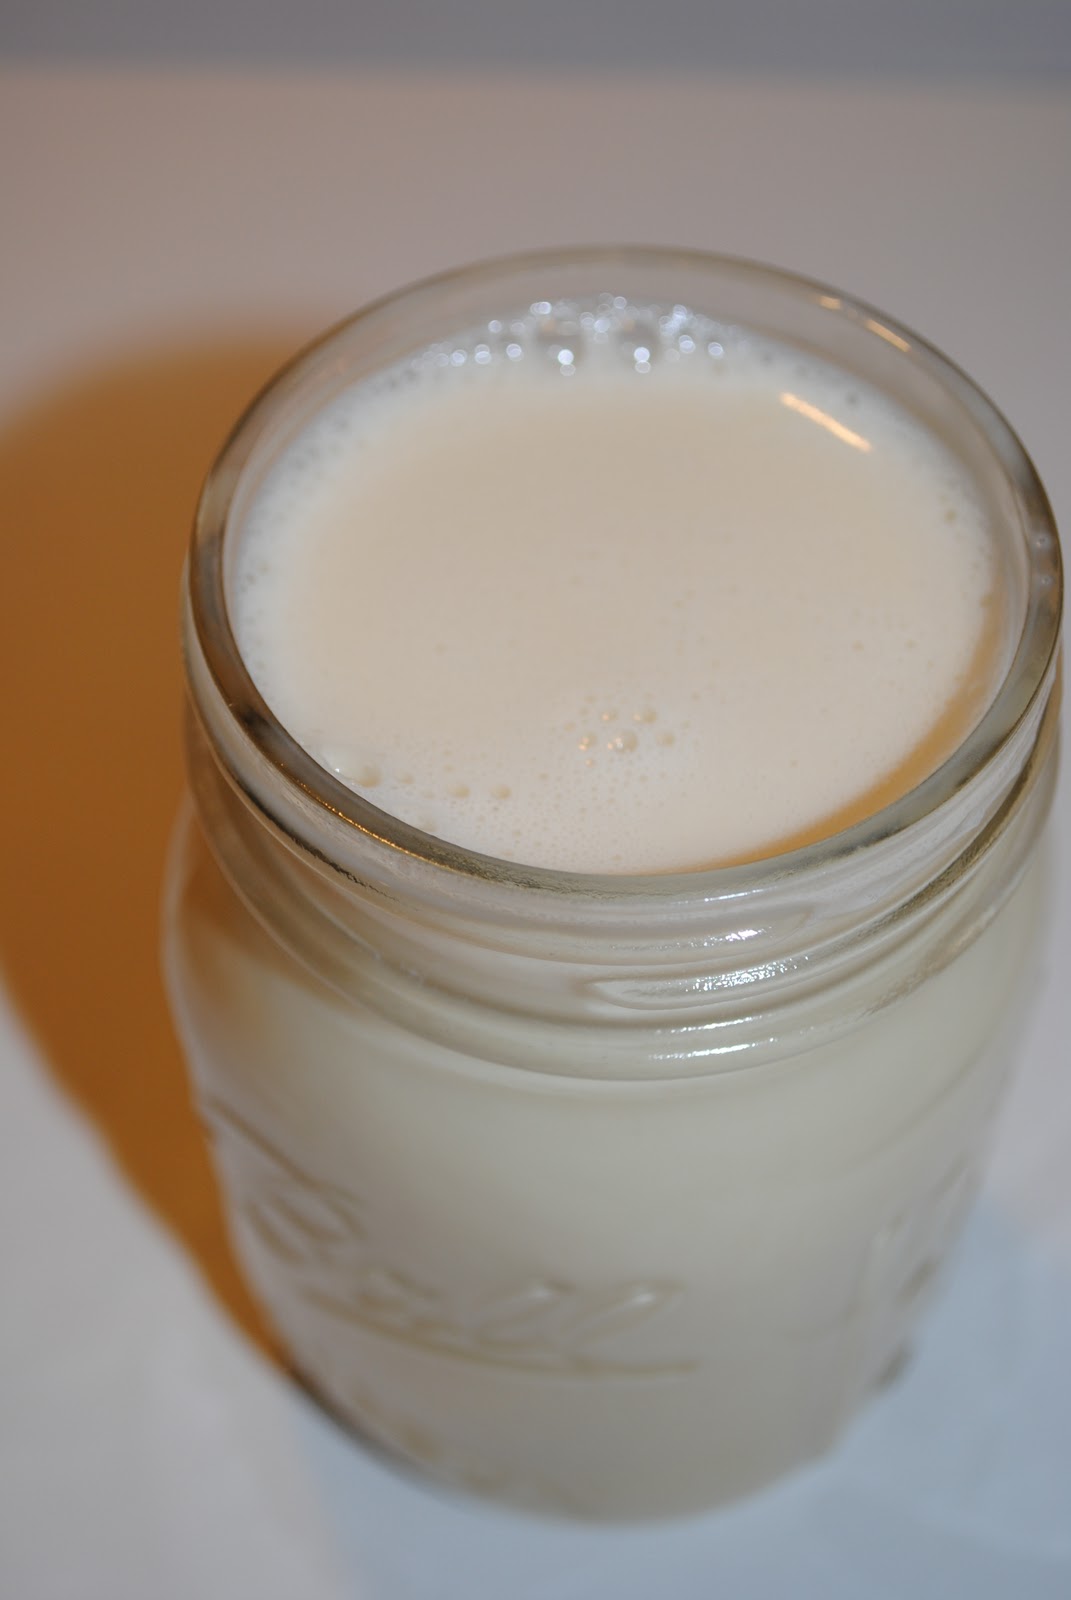
Perfect! Soo Good! :)


Tips, Hints & Other Helpful Information

This contains milk so you will want to keep an eye out for the expiration date & discard when expired.


Thursday, January 19, 2012

Home Made Almond Butter

Home Made Almond Butter

I have been trying really hard to eat healthier lately & learn how to make my own less processed foods that I will enjoy & that actually taste GOOD to ME. It has been a fun adventure so far. I think its totally Awesome when people can make their own stuff at home. I have yet to do anything complicated, only easy stuff, so no worries, if I can do it, you can do it easily!

I was on Pinterest Yesterday when i saw this Delicious breakfast that I had to make called Almond Banana breakfast Oats. I didn't even know the ingredients, i just saw it and was like "Oh Yeah." One of the toppings was Almond Butter (I had never heard of Almond Butter before) The Author of the blog (Caitlin) posted the recipe told me how to make it. *YAY* Seemed Simple so I tried it out. I also made her oatmeal per her instructions on her blog. Tasted Great! Even without the Almond Butter! But of course I still had to try it just the way her recipe states.
This is what you NEED.
Almonds. As many or as little as you want.
*Oven * (PreHeat to 300 Degrees)
*Blender
*Airtight Storage Container
Take as many almonds as you want & spread them evenly on a pan.
(I had a quart bag full of almonds that I used)
Now you need to bake your almonds for 10 minutes.
Take them out, turn them over
& bake for an additional 10 minutes.

See how they are darker? They are Now Toasted Almonds.
If you are wondering why you need to toast them, its because they get soft so they will blend a lot easier. I was wondering the same thing until I ate one of the toasted almonds and was like, "Oh, they are soft." LIGHT BULB MOMENT
Now its time to blend them. You are going to be blending A LOT...
like, A lot.. A lot..!
So make sure your blender is up for this. If you don't have that great of a blender I would borrow someone else's blender or get a new one. (I am speaking this from experience... as I bought myself a new blender today because my little mini blender couldn't handle making this last night so I had to put my almond butter on hold! I was not a happy camper!)
Okay, now start blending. This picture above is "In Motion" & I took this right after I started blending, a good 3-5 seconds in -this is is what my almonds looked like. Its kinda crazy how fast they blend in the beginning.
About 2 minutes later.
4-ish minutes later.
Oh,  i should tell you, I didn't blend them all at the same time, I put half of my toasted almonds in the blender to start off with - the other half I added in the picture above but had previously blended them in my other mixer- (the one that didn't want to keep up with how much I was blending)
Okay, now after a while the almonds will start to clump together a little. From what I understand it does this because the oils are slowly starting to come out of the almonds.
This is a good 10 minutes into "blending", the Natural oils are starting to leak from the almonds making it pasty. But its not done yet. 
Its getting there but its still not done.
Almost Done.
You will know when its done. You can just tell. You can see the natural oils in it and it is very smooth. Looks like Organic Peanut Butter. Only it tastes SSsOOooooo much better!
Now put it in your airtight container, when you are done tasting it 500 times like me.

I am a HUGE Nutella Lover. I could eat a jar of it without trying easily. But its not very good for you so I try not to. haha. but I always find myself eating it when i want something sweet. I could replace any kind of junk food for a jar of Nutella.

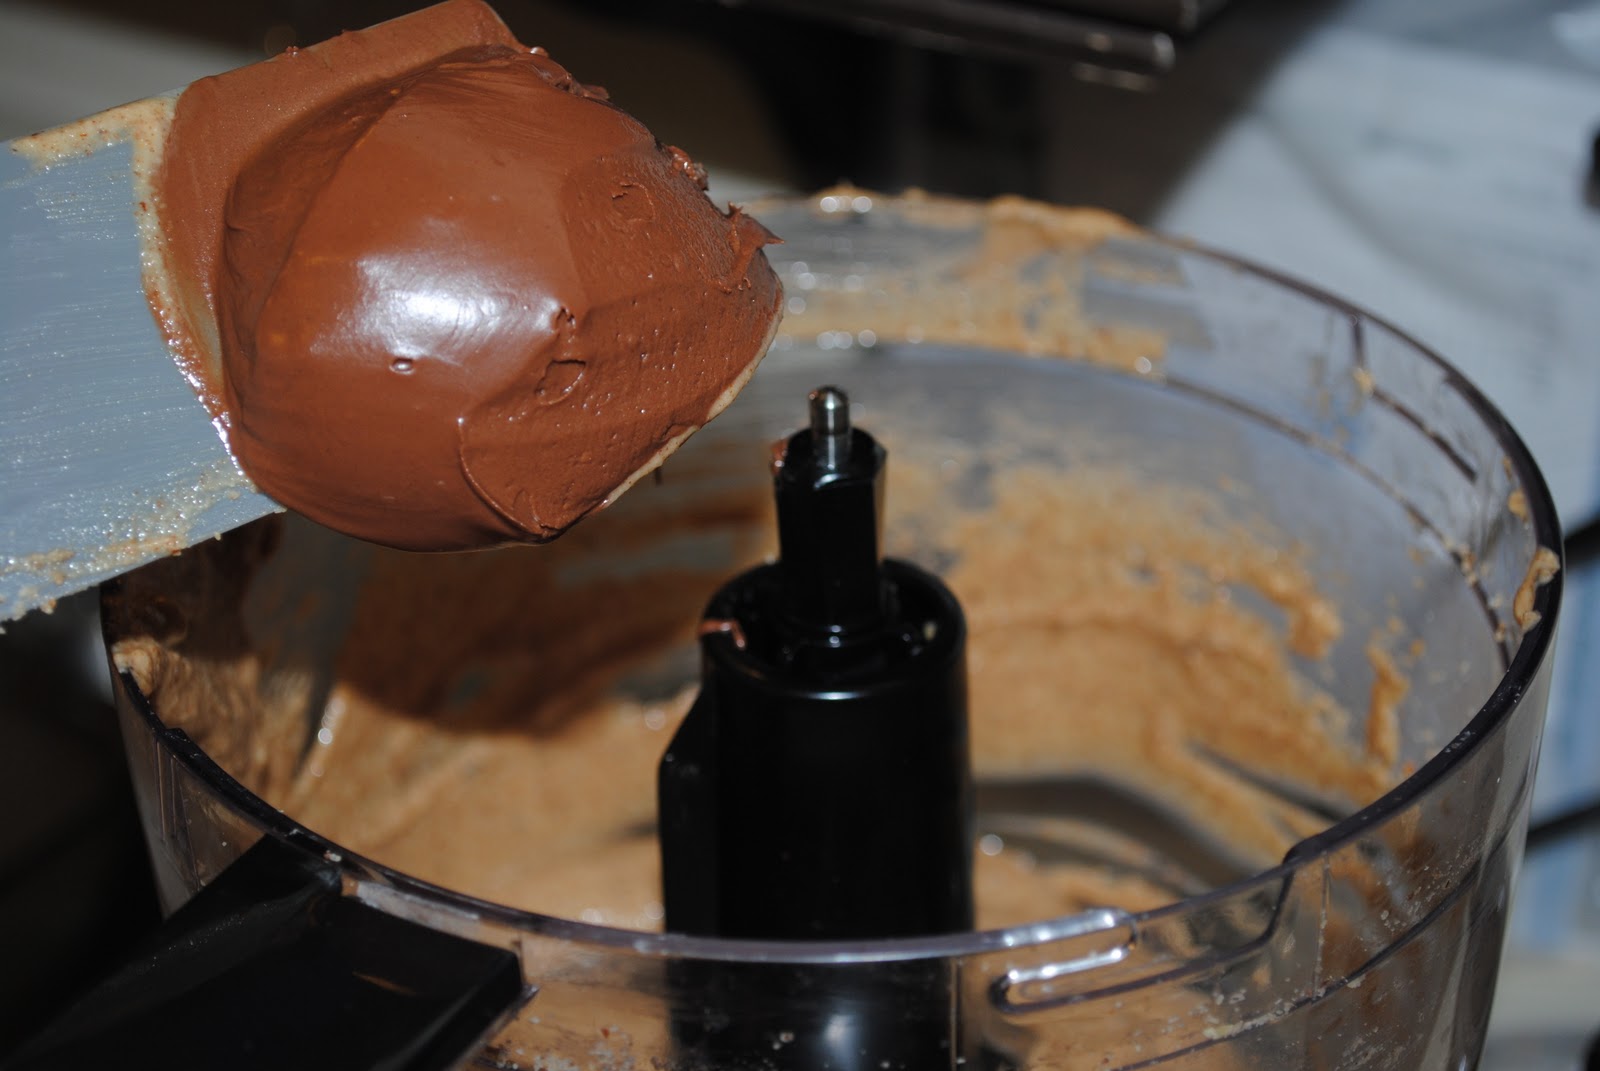
 Okay, so This is what I did, I left about 3/4 cup of almond butter in my blender & added 2 tablespoons of Nutella.  YUMM... This tastes soo good... Not a huge nutella taste but definitely noticeable. You could always add more...... ;)
Now we have Nutella Almond Butter too!
So if your craving chocolate, Voila! you have a little bit of a "healthier choice".
I play mind tricks on myself so knowing that there is nutella in here I will probably choose this as my dessert of choice. :)

Home Made Nutella Almond Butter & Almond Butter
I totally love how when I am taking pictures in my glass bowls it makes a reflection that looks like a heart. So neat.

Tips, Hints & helpful thoughts

You can make your own "Butter" out of any kind of nut. You would think I would have known this before yesterday but no, I didn't. Didn't have a clue you could make something like this at home. When my Nutella is out I am going to try and create my own with Hazelnuts!

Be creative, I added Nutella to some of my Almond Butter but you could easily add Cocoa Powder, Cinnamon, pumpkin pie spice, just about anything. Or just leave it plain. Seriously, I am loving making my own stuff. I feel so Awesome about myself right now! :)

Wednesday, January 18, 2012

Home Made Butter & Buttermilk

Talk about Feeling Accomplished & Awesome with little effort.
This is SO COOL!
You have to do it.
You just have to.
Make Your Own Butter!
This is My, "Braiden the Barbarian Beaver the Bear".. (that is just one of his nick names...)
He is helping me with my Tutorial today! (Well, more like he tried.)
Here is what you will need:
*1 or 2 Jars w/ lids (I used a Mary Calenders ranch dressing container)
*Whipping Cream OR Heavy Cream
*Sea Salt (Optional)

Yup! 2 Things, that's all you need!
Have your little helper pour the Whipping Cream in your container.
(Surprisingly he did that without making a mess!)
Don't fill it all the way (A little less than this actually)
Now,
SHAKE IT!!
&
SHAKE IT!!
&
SHAKE IT!!
&
SHAKE IT SOME MORE!!
........Until you (Or your slave) is tired of Shaking it!.........
(Braiden lasted like 3 minutes.. such a wuss!)
Then Blend it!
&
Blend It!
&
 Blend It!
This is Soooooooo much easier!!!-Most recipes for making butter insist that it must be shaken for 20-30 min. Paleeese! Not gunna happen!
(In the picture above you can see that its starting to turn into a whipped cream)
It will start to clump after you have blended (or shaken) it enough.
Keep On Blending for a little longer.
(You can clearly see the Butter & the Butter Milk)
Now when the butter all clumps together like this, its time to drain the Butter Milk.
Now you have homemade buttermilk as well!
You don't have to keep it if you don't want to but why wouldn't you, right? :)
Now all you have is the butter left!
Rinse the butter with Ice Cold Water. (1/4 cup water or so) & squish the extra buttermilk out of the butter with a fork or spoon.
(You may need to do this a few times.)
Your goal is to have clear water when you mix it with your butter then Drain
.
Now you have a jar of homemade butter & a jar of homemade Butter Milk!
How cool is that?
(At this time if you want to add a pinch of salt do so. I didn't have any on hand so I skipped that step.)
It made about a cup of butter & a little over 3/4's cup of butter milk. I did not use my entire jar whipped cream. The jar that I made it in was just too small.
I didn't waist any time! I made toast right away & it was sooo good!

Tips, Hints & Thoughts

Make sure the water you mix with your butter is clear. If you don't get all of the buttermilk out of the butter it will spoil faster.
Many recipes i found online to make butter suggested you use room temperature cream, they said it makes it less sweet if you do that. I did not, I used it cold out of the fridge.
You can replace sea salt w/ regular salt if you want. I hardly add salt to anything so I didn't.

I have researched this a lot and I am happy I decided to make my own. It was very rewarding & was not time consuming or expensive like other stuff I want to try. I did find out that you can get Heavy Cream (In Most States) from a local farm for an inexpensive price if you want to make your own & save money. But it is illegal in some states. Not exactly sure about the reasoning behind that.


Saturday, January 7, 2012

Homemade Laundry Detergent

Well, it seems that making your own Homemade Laundry Detergent is the "IN" thing to do right now, so of course I wanted to give it a try!..

I researched what seemed like dozens of websites to check out what everyone was doing & in the end I combined different ideas to make what I thought would be the best detergent. Did I have ANYTHING to make it? Well, Yes, Yes I did (That was the Phineas & Ferb in me talking) I had Oxi Clean. Yup, that's it, 1 thing out of the list of ingredients I needed & in every "recipe" I looked at it was an Optional item.

Now if you have read my profile you know I am new to all of this and don't have a whole lot of experience in ... well... anything really... but I have to say, I am very proud & happy to say this stuff works great! But I get that you might be hesitant as I was too, so if you decide to go with my Homemade Laundry Detergent Recipe you can make a "Sample" version. (Pretty smart if I do say so myself...)! ...That way you can try it out and see how you like it. if you do, YAY, you can make a bigger batch (Instructions Below), and if not you have only used up a little bit of your "New Investment" & you can go on and try out another recipe!

Okay, Now lets get this party started!
This is what you will need.
1 Box of Borax (Laundry Booster)
1 Box of Arm & Hammer Washing Soda (Laundry Booster & Household Cleaner)
1 Box of Arm & Hammer Pure Baking Soda
1 Bottle of Oxi Clean (Stain Remover) (Optional)
1 Bar of Fels-Naptha Bar Soap (Good for Pre-Treating Stains)
1 Bar of Scented Soap (Optional)


What you will need to prepare...
A Cheese Grater
1 Zip Lock Bag
1 Towel
1 airtight container with lid


First, lay out your towel on the surface you are going to work on. That way if you make a mess (which you will) you can just toss it in the washing machine. for a mess free clean up.

All Right, First Up
Grate your Soap & Put in a plastic bag.

Isn't this such a wonderful little grater? (Okay so I realize you can't see this but there is a container on the bottom of it so it fits together like Tupperware) Got it at The Dollar Store. :)
 REMEMBER... THIS IS NOT CHEESE, DO NOT EAT IT!!!
(See, I told you, there is the Tupperware container)
This is what it will look like once you have mixed the soaps together. 
Now its time to work on the Powders.
Add 1 Cup of Borax to your Container (See the mess... Its inevitable)

Add 1 cup of Super Washing Soda

Add 1/2 cup of Pure Baking Soda

Add 1/2 cup of Oxi-Clean

Now Add 1 Cup of shredded soap & Shake It!
Use 1 Tablespoon of detergent per load

Now you have a small sample size of this Laundry Detergent to try out. If you don't like it search the web, there are dozens upon dozens of Laundry Detergent Recipes out there. Powdered, Liquid, Ext.

*~*~*~*~*~*~*~*~*~*~*~*~*~*~*~*~*~*~*~*~*~*~*~*~*~*~*~*~
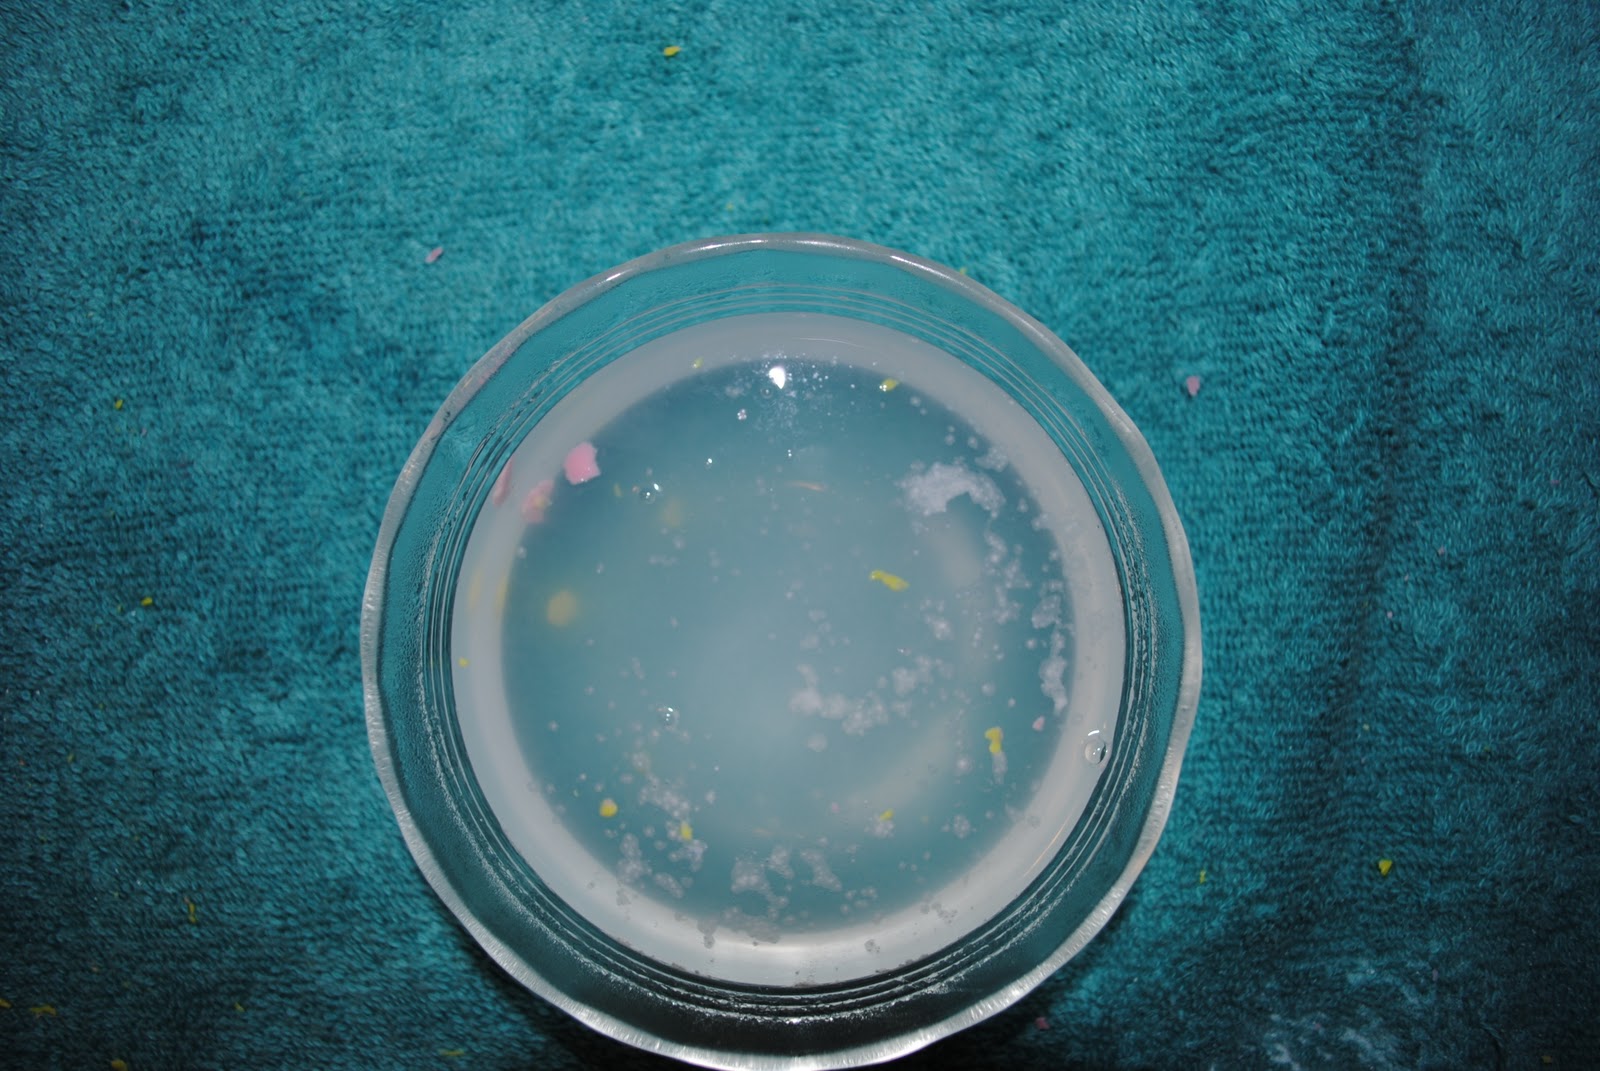
If you are curious like me you are probably wondering if the bar soap will dissolve in the washer because if it doesn't this would not be good! Well, I tested a very small amount in a bowl to show you that it will. :)


The water is soapy & there are no chunks of anything leftover. This is about 15 minutes later.. 

*~*~*~*~*~*~*~*~*~*~*~*~*~*~
Here are instructions on preparing a large batch of Laundry Detergent
6 Cups of Borax
6 Cups of Super Washing Soda
1 Cups of Pure Baking Soda
3 Cups of Oxi Clean
2 full bars of shredded soap
*~*~*~*~*~*~*~*~*~*~*~*~*~*~*~*~*~*~*~*~*~*~*~*~

 Tips & Helpful Hints:
Keep in mind you do not have to use a scented bar of soap. I did because I wanted a girly smell. The Fels-Napa soap is made for laundry and has a slight "Clean" smell. I actually debated if I should grate a bar of Pomegranate Mango soap like I did because I enjoyed the "clean" smell but I did it anyway. I suggest you grate your soap on the small part of your grater. I used the large side and blended it in the blender like another blogger suggested to make the chunks smaller, kind of a waste of time so just be smart and grate it small in the first place.